Form Settings
When creating a campaign Form, you will be presented with the option of Form Settings - which is where you decide what should happen on conversion. You will also be able to connect your integrated email tool and/or collect your responses in a Triggerbee list.

How to work with Form Settings
Response List
The first part of the Form Settings is the Response List Option. The response list is a feature for saving all of the collected responses from your form directly in Triggerbee, apart from sending them to your CRM. This allows you to get a better look at all the emails and responses you have collected, and divide them into different lists. For example, you could have a list for "all signups", "all surveys" and "all black friday signups".
This is where you select what list you want to collect the responses from this campaign. If you do not select any list, Triggerbee will create a list with this campaign name for you. Read more about Response Lists here.

Integrated Apps
The next step is to connect your integrated CRM or Email Tool. You will be presented with all the tools you have integrated (normally 1 or 2). Activate the app you want to send data to and enter the requested data before saving.
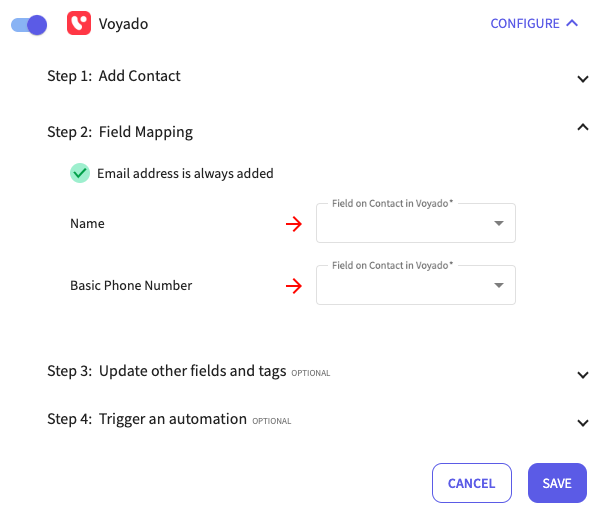
Extra Automation actions
If you wish to add more data or steps to your automation, you can do that by clicking "Go to Automation". This opens up the automation that has been created in the background and allows you to add more steps to your automation. Perhaps you want to populate another field in the CRM, or add a tag to the profile in Triggerbee.

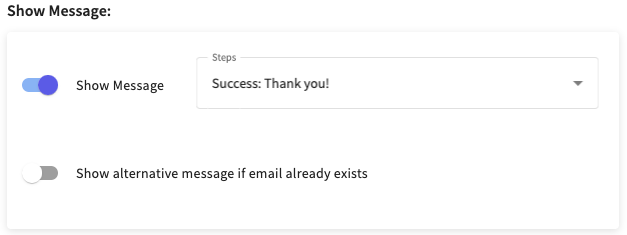
Show Message
This is where you select what step in the campaign should display on conversion. It's usually the Success step and that will be automatically selected, but you can choose to display any other step if you wish.
Alternating Message
The feature for "show alternating message if email already exists" activates when you have more than 2 steps in your campaign. This feature is optional and allows you to check if the signed-up visitor is already in your CRM, and will then display another message in the campaign instead of the "welcome + discount code" success step, eg. just saying "you are already subscribed" - or give them another discount just for being loyal (they did still renew their consent).
Note: This feature only works for Voyado, Rule, and Mailchimp integrations.
Verify as a new subscriber
If you activate the Alternating message feature, you will see another option for "only running the automation if the subscriber is new". If you activate this feature, we will not send the subscriber to the automation (eg. to your integrated CRM/Email tool) if they are already subscribers. This is useful for when you don't want current subscribers to end up in welcome emails again, but it depends on how you have customized your automations in your CRM - thus the optional part here.
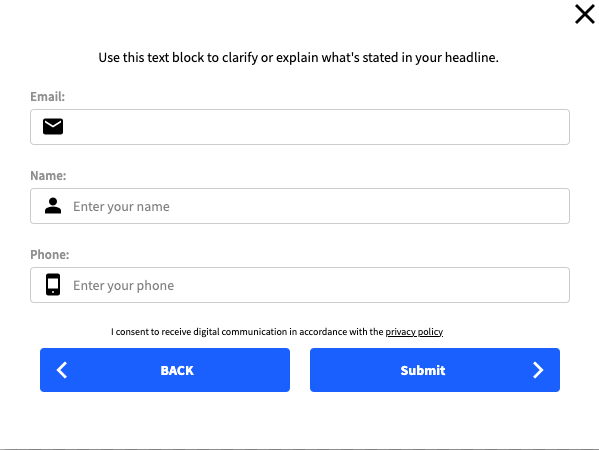
How to work with Slide in forms
Slide-In Forms are activated under Form Settings and allow you to "slide" in each question in your form one at a time.
To make the alternative for slide-in forms possible, all questions must be placed in the same Container and there must be one BackButton and one SubmitButton.
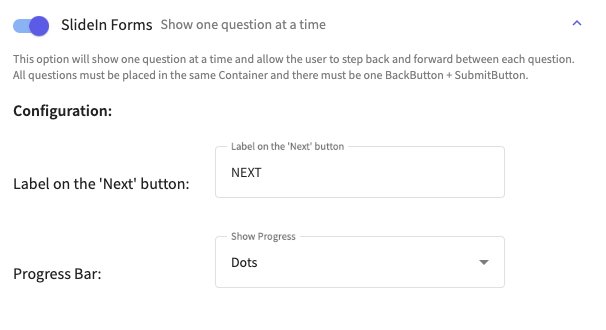
It is also possible to change the label for the next button and select between having a progress bar or not.

How to work with Partial submit
Have you also always dreamt about being able to split your forms into longer forms, without having to worry about fall-out? The partial submit feature allows you to capture data along the way when doing longer forms or surveys so that if the form is abandoned, the data is still stored.
Note: we do not store personal data until consent is given.
Partial Submits are activated under Form Settings.

Partial submits are displayed next to your full submits.
